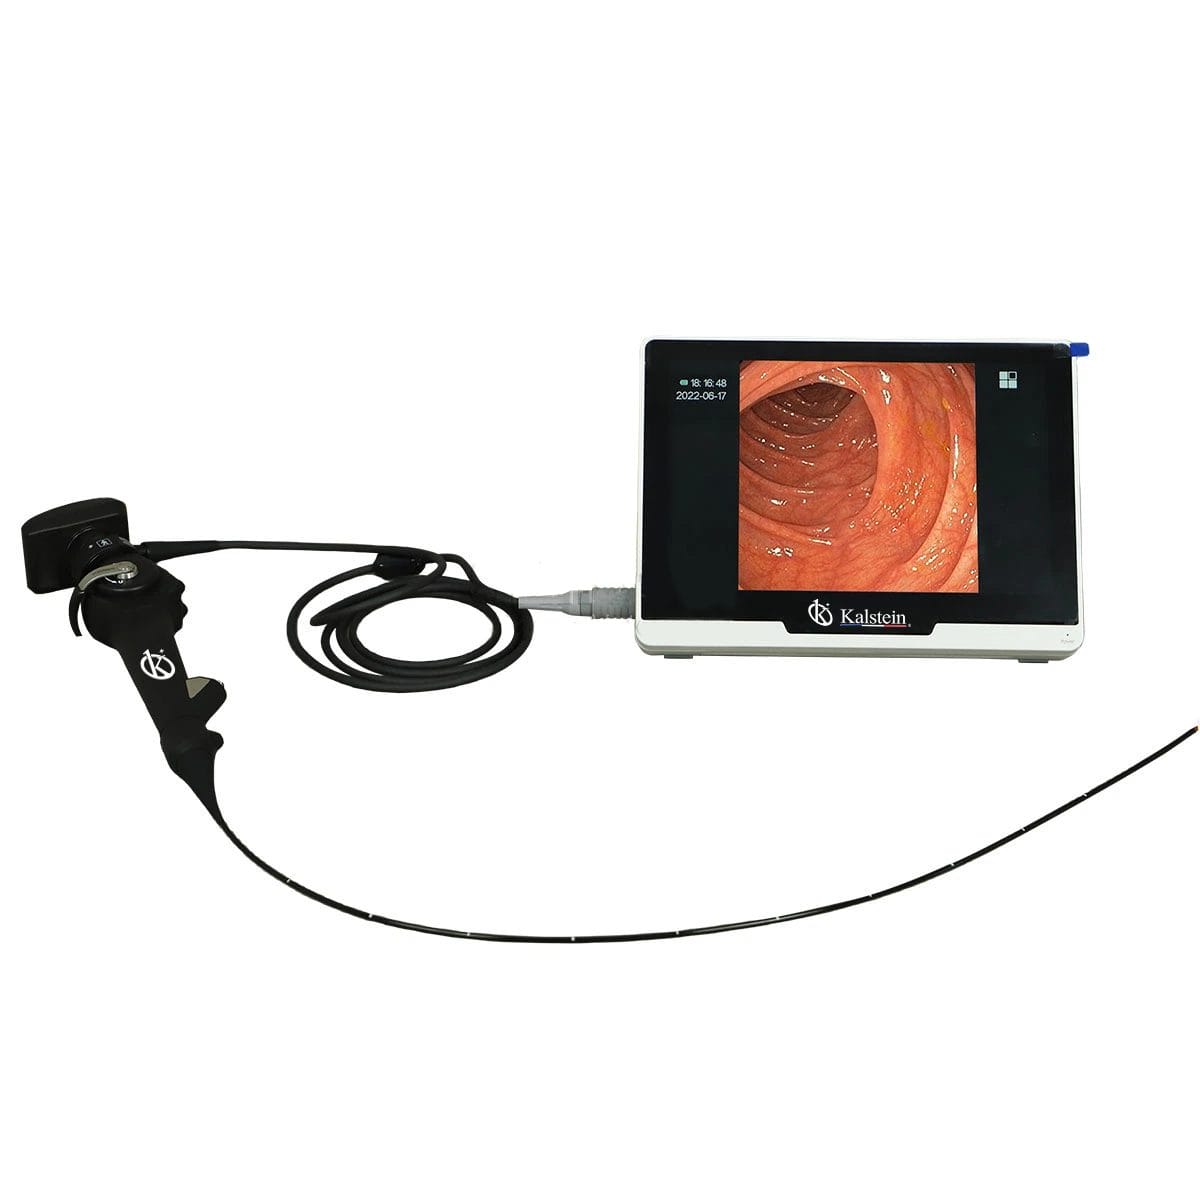
Installation and Setup Guide for the YR06153 Portable HD Veterinary Video Endoscope
The YR06153 Portable HD Veterinary Video Endoscope is a cutting-edge tool designed to enhance veterinary diagnostics and procedures. This guide aims to provide a comprehensive overview of the installation and setup process for the YR06153, ensuring that users can maximize its functionality and usability.
Overview of the YR06153 Endoscope
The YR06153 is equipped with a high-resolution CMOS sensor that allows for sharp imaging and real-time visualization. The durable LED light source and multifunction buttons ensure ease of use, enabling veterinarians to capture images and videos effortlessly. With its flexible design, the YR06153 can perform a variety of veterinary applications, including bronchoscopy and cystoscopy.
Technical Specifications of the YR06153
| Model | Diameter of Insertion Tube | Working Channel | Working Length | View Angle | View Depth | Range of Bending | Screen Size |
|---|---|---|---|---|---|---|---|
| YR06153 | 4.8 mm | 2.0 mm | 1000 mm | 120° | 3-200 mm | 180° (U), 130° (D), 120° (R), 120° (L) | 10 inches |
Unboxing and Initial Setup
Upon receiving your YR06153 endoscope, carefully unbox the device and check for any shipping damage. Ensure all components are included as follows:
- YR06153 endoscope unit
- Power adapter
- User manual
- Cleaning brush
- Carrying case
After verifying the contents, proceed to the following steps for installation:
- Positioning: Set up the endoscope on a stable surface that allows easy access to the power source.
- Power Connection: Connect the power adapter to the endoscope and plug it into an electrical outlet.
- Initial Calibration: Power on the device and follow the prompts to calibrate the settings for initial use.
Common Setup Mistakes to Avoid
During installation, users may encounter common pitfalls:
- Improper Power Supply: Always ensure the voltage matches the specifications to prevent damage.
- Neglecting Calibration: Skipping the calibration process can lead to inaccurate readings and poor performance.
- Forgetting Cleaning Protocols: Regular cleaning of the insertion tube is crucial for maintaining image quality and ensuring hygiene.
Connection to External Devices
The YR06153 supports connectivity to external monitors and recording devices. Ensure you have the necessary cables and adapters. Follow these connections steps:
- HDMI Connection: Use an HDMI cable to connect the endoscope to an external monitor or device.
- USB Linkage: For data transfer, connect the endoscope to a computer using the USB interface.
- Verification: Once connected, check the output on the external device to ensure proper functioning.
Frequently Asked Questions
What is the maximum bending angle of the YR06153 endoscope?
The YR06153 endoscope supports a maximum bending range of 180° upwards, 130° downwards, and 120° to both the left and right, allowing for versatile maneuverability during procedures.
How do I clean the YR06153 endoscope after use?
To clean the YR06153, use the provided cleaning brush to remove any debris. Additionally, disinfect the insertion tube with appropriate veterinary-grade cleaning agents to maintain hygiene and functionality.
What are common issues faced during the setup of the YR06153?
Common issues include improper power connections, calibration errors, and neglecting to clean the insertion tube. Address these issues promptly to ensure optimal performance.
Can the YR06153 be used for both diagnostic and therapeutic procedures?
Yes, the YR06153 is designed for a variety of applications, including diagnostic imaging and therapeutic interventions in veterinary practice.
What is the warranty period for the YR06153 endoscope?
The YR06153 typically comes with a one-year warranty covering manufacturing defects. It is advisable to check specific warranty terms provided at the time of purchase.
How do I troubleshoot if the YR06153 does not power on?
First, check the power source and connections. If the power supply appears to be functioning, inspect the endoscope for any visible damage. If issues persist, contact customer support for further assistance.
Conclusion
Setting up the YR06153 Portable HD Veterinary Video Endoscope requires careful attention to detail and adherence to the guidelines provided. By following this installation and setup guide, users can ensure that they maximize the functionality and efficiency of this remarkable veterinary tool.
If you are looking for a fusion of innovation and quality, you have come to the right place. At Kalstein, we offer you the luxury of exploring our exclusive catalog of laboratory equipment. We manufacture every device to the highest standards of excellence. Our intuitive and seamless online purchasing channels are designed for your convenience, securing the most competitive prices. Hesitate no longer — we bring science to life, it is time to become part of our community.